
From Blueprint to Brushstroke: Including Murals From the Construction Phase
Every time a mural is installed on a wall that was never designed to receive it, avoidable costs appear: surface repairs, delays from improvised coordination with subcontractors, and occasionally, legal disputes over intellectual property. Integrating mural art from the construction phase eliminates these problems and, according to industry data, reduces the total cost of the art project by 15 to 25 percent. This guide documents the step-by-step process so that developers, architects, and general contractors can specify mural walls in their drawings with the same rigor they apply to electrical or plumbing systems.
Why plan murals during construction
The logic is straightforward: when the wall already exists with final finishes, any artistic intervention requires undoing prior work. A study by the Americans for the Arts Action Fund (2023) indicates that public art projects integrated during the architectural design phase complete their installation at an average cost 15 to 25 percent lower than post-occupancy interventions. The reasons fall into three categories.
Surface preparation
When the wall is designed to receive artistic paint, the contractor can apply the appropriate substrate - smooth render, anti-alkali primer, moisture barrier sealant - in a single pass, without demolishing existing finishes.
Timeline coordination
The muralist enters when the space is accessible, before furniture or fixed elements are installed. There are no partial closures or temporary protections that delay the civil works.
Budget allocation
The art line item is included in the master construction budget, with financing and cash flows already defined. No post-delivery surprises or supplemental budget requests.
How to specify mural walls in architectural drawings
The technical specification for a wall intended to receive a mural is no more complex than that of a wall with stone cladding or ceramic tile. It requires clear documentation at three levels: floor plans, written specifications, and section details.
Below is the minimum information that should appear in the construction documents.
- 1Floor plan identification: Mark the wall with a specific code (for example, “MW-01” for Mural Wall) and differentiated shading on the finishes plan. Include dimensions of the available painting surface.
- 2Section cut: Detail the wall layers - structure, insulation (if applicable), base substrate, leveling coat, primer, and final finish coat (to be applied by the artist). Indicate thickness of each layer and recommended product.
- 3Written specification (CSI format): In the finishes section, include the substrate description: render type, smoothness level (L3 or higher), maximum flatness tolerance (3 mm per linear meter), and minimum curing requirements (28 days for concrete, 14 for plaster).
- 4Lighting notes: If the mural will be artificially lit, the electrical plans must include luminaire positions, source type (LED with CRI greater than 90 recommended), and projection angle to avoid specular reflections.
- 5Installation access: Indicate on the plan whether scaffolding, lift platforms, or special access is required. For exterior facades, coordinate with the general contractor's fall protection plan.
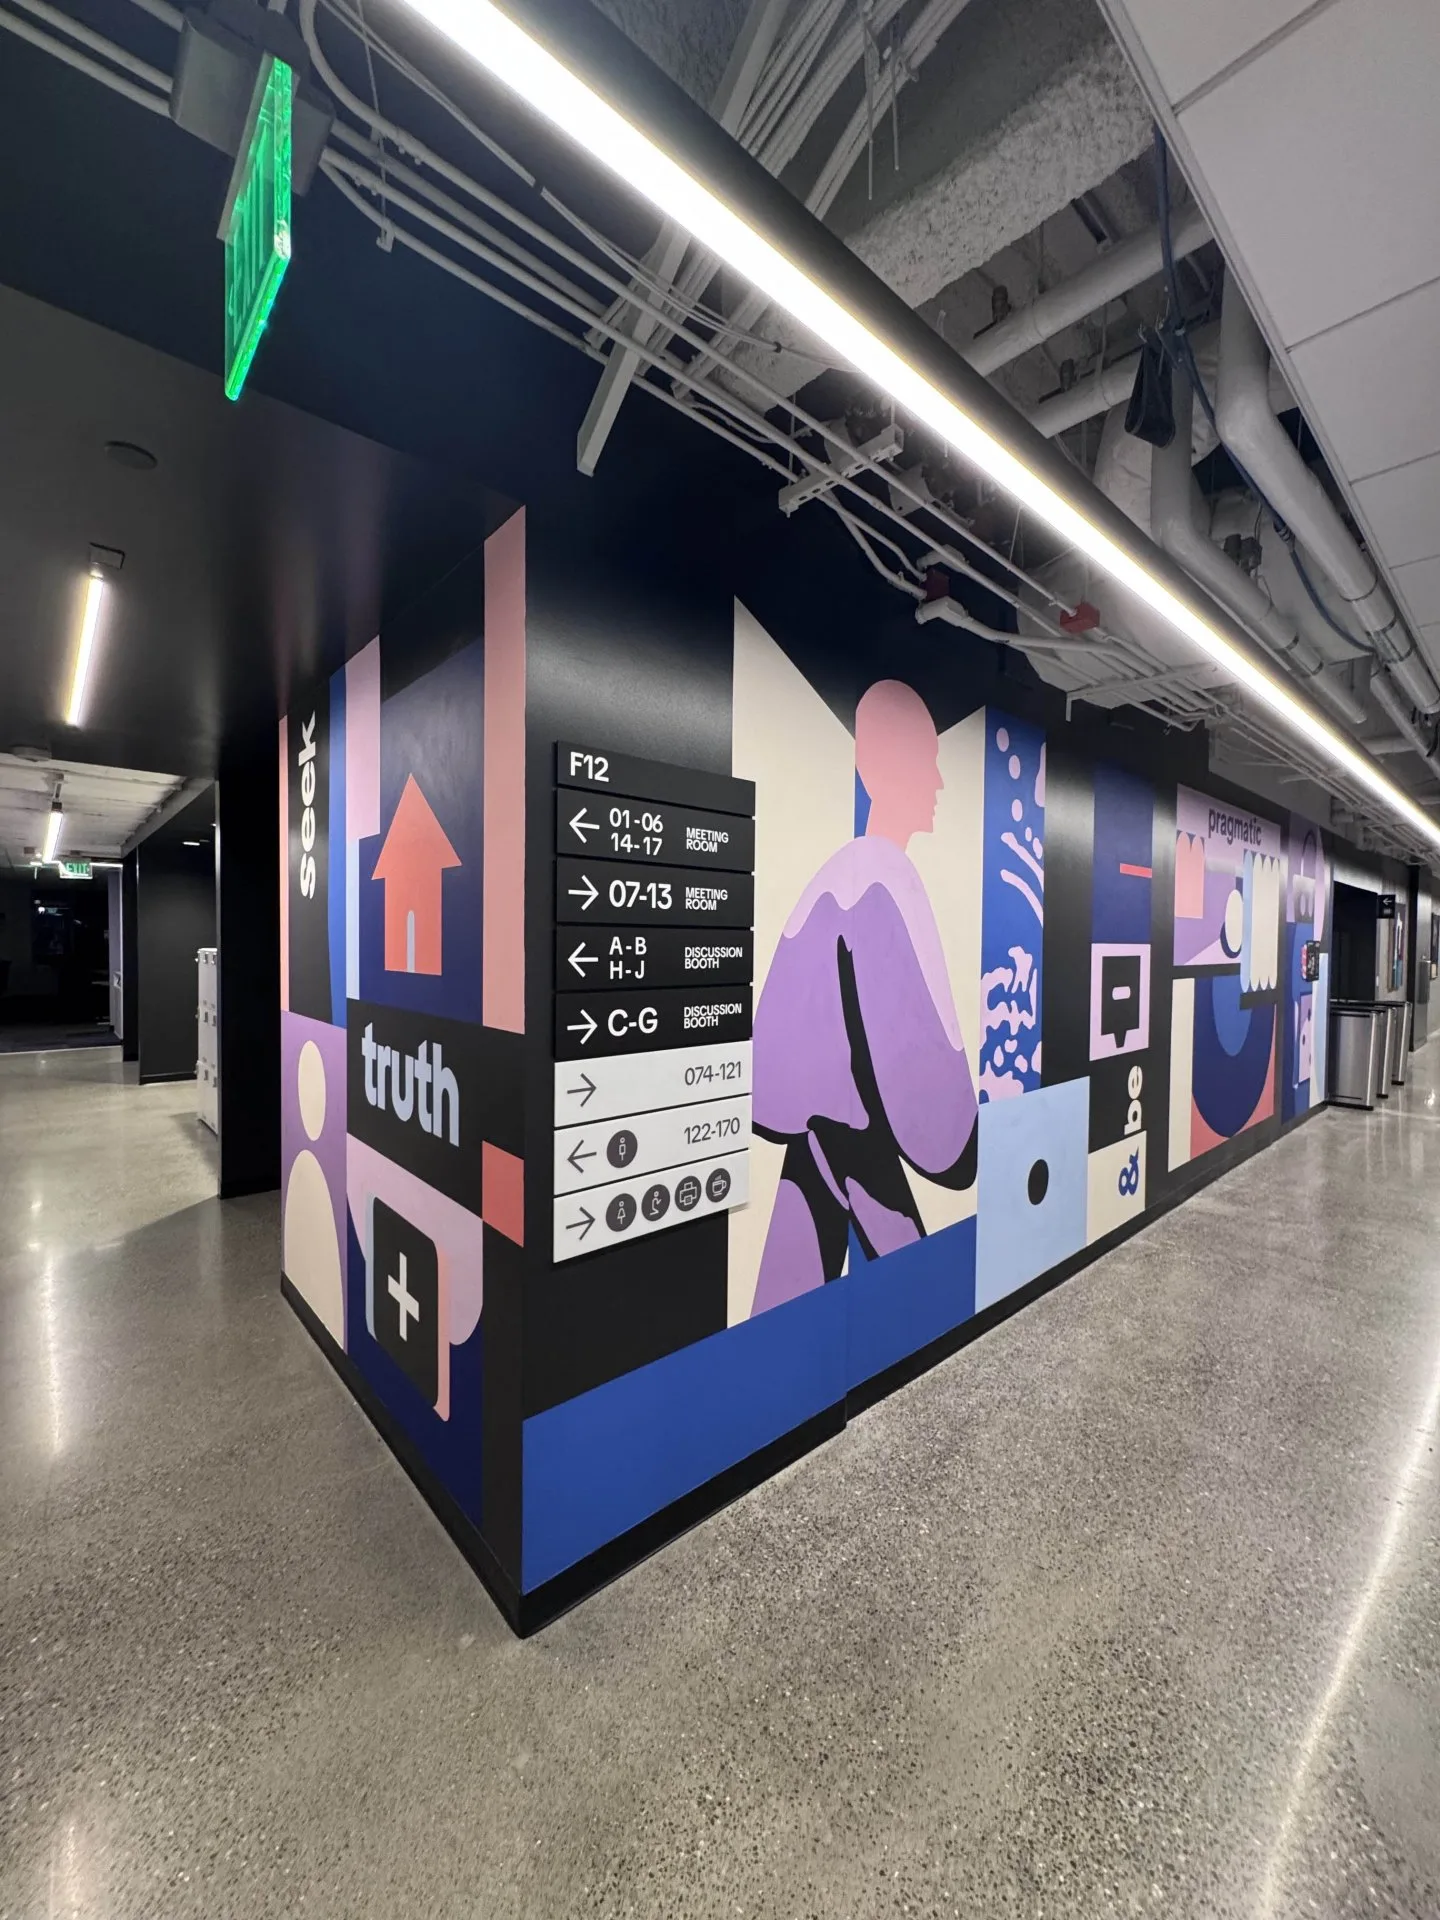
Corporate projects that integrate murals from the design phase achieve results that are coherent with brand identity and the architectural program.
Surface preparation requirements
The surface is the single factor that most affects mural durability. A poorly prepared wall can cause flaking, efflorescence, or adhesion loss in less than two years. Requirements vary by substrate type.
Specifications by substrate type
Poured concrete or CMU block
Minimum 28-day cure. Apply anti-alkali sealer before priming. Surface pH below 10 (verify with litmus paper). Residual moisture below 4% (measure with contact hygrometer).
Drywall / gypsum board
Joints treated with tape and compound at level 4 or 5 (ASTM C840). Dust-free surface. Prime with high-adhesion acrylic sealer.
Exposed brick
Apply leveling render (minimum 10 mm) to absorb the brick texture. Alternatively, if the design leverages the texture, seal with penetrating primer and let the artist work on the irregular surface.
Metal (sheet metal, structural steel)
Clean with solvent or light sandblasting. Apply anti-corrosion primer compatible with acrylic or polyurethane paint. Verify no residual manufacturing oils.
Coordination with the general contractor and subcontractors
A mural is a line item that involves multiple trades: masonry (substrate), electrical (lighting), painting (primer), scaffolding (access), and finally, the artist. Poor coordination among these actors is the primary cause of cost overruns in post-construction art projects.
To prevent this, the mural must be integrated into the construction schedule as an activity with its own dependencies, predecessors, and successors.
- Access window: Schedule mural execution after wet finishes (render, base paint) are complete and before installation of fixed furniture, final floor finishes, or elements that would obstruct the wall.
- Work protection: Define clear responsibilities for protecting the finished mural during subsequent construction phases. The general contractor must cover the mural with breathable material (not plastic) to prevent condensation.
- Single point of contact: Assign a project manager who coordinates between the artist (or the platform, such as Muralia) and the construction team. This prevents contradictory instructions and communication-related delays.
- Surface acceptance report: Before the artist begins, the general contractor and the artist (or their representative) must sign a report documenting the wall's condition: flatness, moisture, presence of cracks, and cleanliness.
Permits, HOA, and local regulations
Regulatory requirements vary significantly by jurisdiction. In general terms, murals on exterior facades face more restrictions than interior ones. Addressing these issues during the construction phase - when building permits are already being processed - is considerably more efficient than doing so afterward.
Exterior murals
In many cities, exterior murals require specific urban image permits, especially in historic preservation zones. In the United States, some counties classify murals as “signage” and apply the same restrictions as outdoor advertising.
In Mexico, regulations vary by municipality. In Mexico City, the National Institute of Fine Arts (INBA) may intervene if the building is listed. Verify with the corresponding borough office before starting.
HOA and condominiums
In residential or mixed-use developments subject to condominium regimes, internal bylaws may restrict modifications to facades or common areas. Obtain assembly approval before including the mural in the construction documents.
In the United States, HOAs (Homeowners Associations) have their own rules that frequently limit exterior art. Consult the development's CC&Rs (Covenants, Conditions & Restrictions).
Intellectual property and moral rights (VARA)
This is a topic most developers ignore until it creates a legal problem. In the United States, the Visual Artists Rights Act (VARA) of 1990 grants artists the right to the integrity of their work and to attribution, even after the work has been sold or commissioned. This means that destroying, modifying, or mutilating a mural without the artist's consent can create legal liability.
In Mexico, the Federal Copyright Law protects the artist's moral rights as inalienable and imprescriptible. The artist retains the right of integrity and paternity over their work, regardless of who owns the building.
The way to mitigate risk is a clear contract signed before execution.
Recommended contractual clauses
License of use: Specify whether the owner acquires the work, an exclusive license, or a non-exclusive license. Define whether the artist may reproduce images of the mural in their portfolio.
Right to modify: Include a clause allowing the owner to make modifications or remove the mural under specific conditions (for example, giving the artist 90 days notice and offering the opportunity to document or recover the work).
Duration and maintenance: Establish the expected lifespan of the mural and maintenance responsibilities for each party. At Muralia, contracts generated through the platform include these clauses by default.
Long-term maintenance planning
A mural is not a standard paint finish. It requires a specific maintenance plan that should be defined before property handover, not after the first signs of deterioration appear.
- 1Protective sealant: Apply anti-UV varnish or clear protective coating once the mural is complete. For exteriors, use products with UV, rain, and pollution resistance. Reapply every 3-5 years depending on exposure.
- 2Periodic inspection: Schedule biannual reviews to detect cracks, flaking, efflorescence, or vandalism. Document with photography and compare against the delivery record.
- 3Scheduled touch-ups: Include in the property's operating budget an annual line item for minor touch-ups. Establish contact with the original artist or the platform that managed the project to ensure aesthetic continuity.
- 4Anti-graffiti: In urban areas with high vandalism rates, consider applying sacrificial or permanent anti-graffiti coatings. Sacrificial ones are removed along with the graffiti and reapplied; permanent ones withstand multiple cleanings.
Post-occupancy art programs
The more sophisticated developers do not stop at an inaugural mural. They implement rotating or permanent art programs that maintain the space's relevance over time. This approach is particularly effective in mixed-use developments, corporate campuses, and large-scale residential complexes.
A post-occupancy art program can include: rotation of temporary murals in common areas (lobbies, parking structures, amenities), annual commissions for local artists that reinforce the development's identity, and live art events that generate community activation and media coverage.

Murals integrated into commercial spaces generate visual identity and organic reach through social media.
Documented savings: the difference between planning and reacting
To quantify the impact, consider a typical scenario: a 50 m² mural on the interior facade of a mixed-use development.
Cost comparison: planned vs. retrofitted
Mural planned during construction
- Surface prep (included in civil works) $0 additional
- Scaffolding (shared with construction) $0 additional
- Coordination (integrated in schedule) Minimal
- Permits (processed with construction) Included
- Post-mural protection Standard
Mural retrofitted post-occupancy
- Removal of existing finish Additional cost
- Dedicated scaffolding Additional cost
- Ad hoc coordination Delays
- Separate permits Additional process
- Existing furniture protection Additional cost
Source: Estimate based on data from the Americans for the Arts Action Fund (2023) and documented experience from projects managed through Muralia.
How Muralia facilitates integration from the design phase
Muralia serves as the bridge between the construction team and artistic talent. The platform allows you to publish a project with detailed technical specifications - wall dimensions, substrate type, execution window, budget - and receive proposals from verified muralists who match those parameters.
For developers and architects working with defined timelines, this eliminates the informal process of sourcing artists through referrals or social media. Muralia's workflow structures the selection, quoting, and contracting into a measurable, documented process, with contracts that include intellectual property clauses, execution timelines, and maintenance plans.
For architects and developers
If you are designing a project that will include murals - whether a residential development, commercial space, or corporate campus - publish your project on Muralia with your wall specifications and receive proposals from verified artists within 24-48 hours. Early integration saves time, money, and legal headaches.